
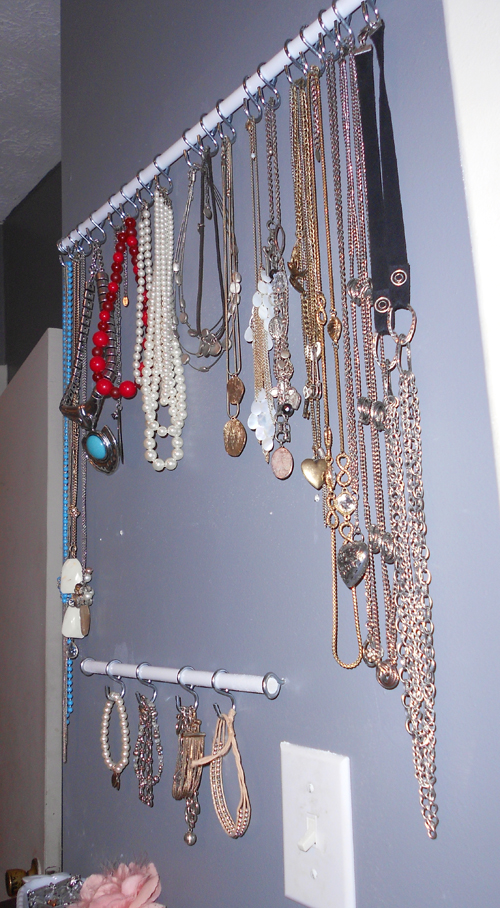
Okay, anyway. Pin-spiration time! Inspiration on top, my take on it below (if you want the original pins, just click either of the top photos).


Just for reference, here's how it looked before:
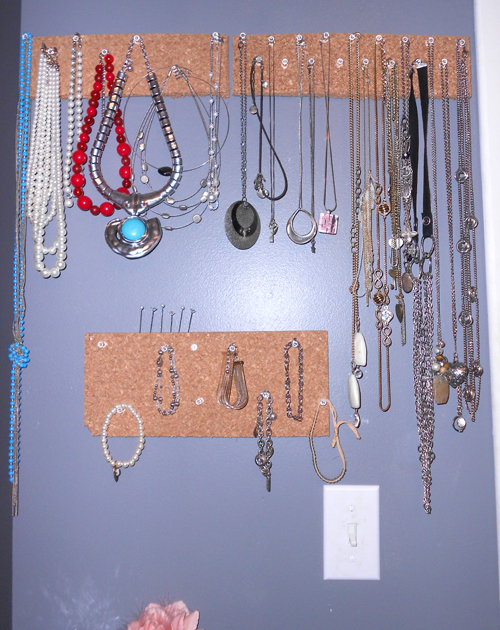
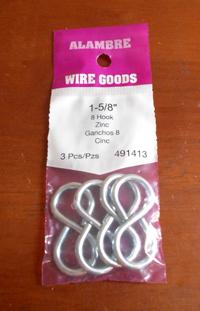
So, functional but ugly. A re-do was definitely necessary. This was yet another "I'll just kind of wing it and see how it turns out" pins. (Are you noticing the trend here?) I went to Lowe's and bought a couple of 1/2 inch dowel rods, a pack of 1-5/8 inch screw eyes, and several packs of 1-5/8 inch s-hooks.

I cut the dowel rods to the size I wanted them with our circular saw, which was actually pretty terrifying, then sanded down the raw edges. As it turns out, the dowel rods were just the tiniest bit too thick for the screw eyes, so I sanded them down a little more to fit in the hole. Then I spray painted them...guess which color...white. While they were drying, I bent the s-hooks open a bit so I could hang my jewelry on them without opening the clasps every time. That proved to be pretty difficult with just a pair of needle nose pliers alone, but when I gripped the hook in one set of pliers, then pried them open with the other set, it went pretty quickly. There were nearly 30 of them though, and my hands are still sore :(
Anyway, after that, it was an easy enough process. I just measured out where I wanted to hang the bars, drilled some pilot holes with a drill bit, and screwed the eye screws into the wall. (If you're doing this yourself, it's important to remember that you should drill the pilot holes smaller than the screw itself; that gives the screw something to hold on to in the wall.) Then, I just threaded the bent s-hooks onto the bar and slipped them into place. Voila!

I'm thinking about getting some sort of mirror piece for the top of my dresser, but I haven't decided yet. All I know is that black-ish wood does NOT jive with the stain on my jewelry box. Eh. We'll see what happens. In the meantime, don't forget to come back tomorrow and enter to win some jewelry :)
Such a good idea! I don't think I could ever keep any of my jewelry organized for longer than a day though.
ReplyDeleteWOW! So awesome! I'm currently doing the pin-board thing... yaaaa maybe I should replace it with this. It looks easy enough.... ish... :P
ReplyDelete